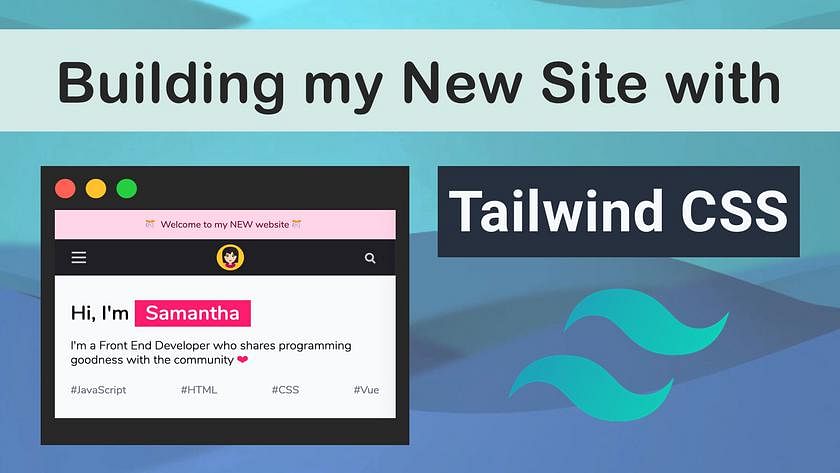
# Building my site with Tailwind CSS
This is a 2 part series where I talk about the two main tech I used to build my new website, samanthaming.com. The first one I talked about my experience using VuePress. In this one, I'll talk about Tailwind CSS:
- What I was using before
- Why did I switch from Bulma to Tailwind
- Benefits of Tailwind
- Challenges of Tailwind
- Was it worth the switch
# What I was using before?
Previously, I was using a CSS framework called Bulma. I wanted to pick a framework that was as close to the final design as possible. Why? Because it means less customization from me and less work 👍 Remember, I'm a lazy programmer 😂
Why didn't I pick bootstrap or foundation, you may ask. Those two are super popular frameworks, so if I were to use it, I would probably end up doing a lot of customization to make my site look different. Which meant work and that's a hard pass from me. So Bulma it is!
My old site essentially was a rip off of Bulma 😆. I believe I kept everything as is, the only thing I tweaked was the color palette. I love using a CSS framework. I'm not a designer, so I rather not waste time spinning out my own design system. Being able to apply a few classes and have it look beautiful, oh ya, CSS framework is the way for me!
# Why did I switch from Bulma to Tailwind
For my new project, I decided to use Tailwind, which is a utility-first CSS framework. The philosophy is quite different from your standard CSS frameworks like Bulma or Bootstrap. So let me spend a bit of time explaining the difference.
Let's say you would like to buy a "table" for your home. You could purchase a ready-made and ready-built table from your local shop. Of course, you can still customize it by painting over it. But the table is pretty much set, the number of changes you could do to it is going to be limited. And that's pretty much what you get with a CSS framework 📦
But you could also make your own table by getting your own supplies from Home Depot. They offer you all the tools and materials to make a custom version from your pure imagination 🎵. And this is the experience of using Tailwind. It provides you all the utility to build your own component.
For my new site this time, I actually came up with a mock-up. I wanted to create something from scratch. And honestly, my proficiency with CSS has improved since building my old site, so I didn't want to be boxed in by any CSS framework. Your next question might be, okay we get it, you don't want to use a CSS framework, why not just use pure CSS 🤔 Great question, read on! 😂
# Utility-First vs CSS
One can argue that Tailwind is just a class wrapper of CSS properties. And honestly, they won't be wrong. Let's take a look:
<a class="text-blue hover:text-red">Link</a>
It reads exactly how it will be styled. Make the text blue and when it's hovered, turn the text red.
Conversely, if I was writing this with pure CSS. I'd probably do this:
<a class="primary-link">Link</a>
And then I'll apply the CSS.
.primary-link {
  color: blue;
}

.primary-link:hover {
  color: red;
}
Right off the bat, less code! All I have to do is add the appropriate class and voila, it's styled right there 🎉 It's like doing inline styling but way cleaner. And that's kind of the philosophy of utility-first. Here's how Tailwind explains it:
Tailwind provides low-level utility classes that let you build completely custom designs without ever leaving your HTML
Yes to not leaving your HTML 🤩
# Benefits of Tailwind
Let's look at some of my favorite thing about Tailwind. It's not strictly just Tailwind, but the benefits of why the utility-first concept is so awesome!
# No More Naming Problems
One thing I hate about styling is coming up with names. Should I name it primary-link or primary or do I follow BEM and do something like primary__link. Needless to say, naming things are complicated 😖
If you use Tailwind that goes out the door. I can add the styling right inside the HTML tag. It's like styling inline. It doesn't pollute other similar tags and it's scoped to the specific tag.
<a class="text-red">red color link</a>

<a>default color link</a>
# No Over-bloating of CSS files
Here's a sample of my old site's SCSS file structure based on segmenting your styles into components:
- bulma.scss
- general.scss
- blog.scss
- tidbit.scss
- pagination.scss
- banner.scss
- footer.scss
- header.scss
This is considered tiny. Imagine working at a company where the code base is huge, there's even a bigger break down of individual SCSS components. A "simple" color change involves finding the HTML file, then looking for the respective CSS file, then making the adjustment there, and praying it's properly scoped so you don't accidentally make a change that pollutes other components. The stress, am I right 😩
Here's my new SCSS file structure:
- tailwind.scss
- general.scss
That's it! I no longer have to break my styles into different components. Cause all my style is applied inline. I rarely touch the CSS anymore. I just have to adjust my HTML file 💪
Typically as your app grows, with more features being added, your CSS file will inevitably grow in size. However, if you use Tailwind, it will remain relatively the same. Because all subsequent style changes are just a simple addition of applying a utility class. No more introducing new CSS means small CSS file size which translates to a speedy page load time, oh yay 🏆
# Speed
Please call me the flash! The ability to add styling has never been faster. Let's do a scenario comparison:
Your company sells blue boxes. So your manager asks you to create a blue box.
Tailwind way
<div class="border border-blue">
  blue box
</div>
/* No CSS Change */
CSS way
<div class="product">
  blue box
</div>
.product {
  border: 1px solid blue;
}
A few months down the road, your R&D department said they can now create red boxes. So please add the new product to our inventory.
Tailwind way
<div class="border border-blue">
  blue box
</div>
<div class="border border-red">
  red box
</div>
/* No CSS Change */
CSS way
<div class="new-product">
  red box
</div>
.product {
  border: 1px solid blue;
}
.new-product {
  border: 1px solid red;
}
And this can keep going ...Hopefully I painted a picture why a utility-first method first is such a game-changer. The speed is no match. It easily adapts with growing changes in your app without introducing new CSS. Fast to make to changes, fast to implement, no more digging into your CSS files 💨
# Pseudo Classes & Responsivness
So I mentioned how Tailwind is similar to inline styling. Where you apply style without leaving your HTML and it's scoped to the specific tag. One thing that inline styling can't do is handling of pseudo-classes. But Tailwind can!
<a class="hover:underline">link</a>
☝️ See how easy it is to read. When the link is hovered, underline the text.
And the responsiveness is fire too. See if you can decipher this:
<h1 class="text-xs sm:text-sm md:text-base lg:text-lg">Title</h1>
The text is increasing in size as you move to bigger screen sizes. How easy is that! You don't have to deal with media points. And what a breeze to implement. I love this feature!
# Challenges of Tailwind
As revolutionary Tailwind is, there are definitely some challenges. I don't think it's any problem with Tailwind but more the underlying concept of a utility-first framework. So that's what I'm going to speak about instead.
# Repeating CSS
One of the biggest annoyance of utility-first is the repeated classes.
<h1 class="bold text-2x text-blue">Tibit Title</h1>

<h1 class="bold text-2x text-red">Blog Title</h1>

<h1 class="bold text-2x text-green">Vidbit Title</h1>
However, in regular CSS. I'd just create a class to capture the similarities.
<h1 class="heading text-blue">Tibit Title</h1>

<h1 class="heading text-red">Blog Title</h1>

<h1 class="heading text-green">Vidbit Title</h1>
.heading {
  font-weight: bold;
  font-size: 2em;
}
And of course, I can still do that in Tailwind. But that kind of defeats the purpose of using a utility-first concept. I want to minimize any introduction of CSS to my project at all.
But honestly, this is not a big deal for me. Because I'm using VuePress. Anything I feel like it's being repeated, I just create a Vue component.
<CustomVueTitleComponent color="blue">
<CustomVueTitleComponent color="red">
<CustomVueTitleComponent color="green">
<!-- CustomVueTitleComponent.vue -->

<template>
  <h1 class="bold text-2x" :class="`text-${color}`"></h1>
</template>
# Readability
This is probably the biggest downfall of a utility-first concept. Adding a few classes is fine. But when you're adding tons of CSS classes, the readability can definitely be challenging 😖
<div
  class="text-blue mr-3 ml-4 mt-4 mb-2 border border-blue px-2 sm:px-3 md:px-10 lg:px-0 xl:pl-10 w-full border lg:w-10-12 xl:w-8/12"
></div>
☝️Did you catch my duplicate? Accidently adding duplicate class happened to me a lot. Of course, nothing will be broken, I will still have the style I desire. But things like that can happen when readability is poor. You might end up adding duplicate classes and debugging can be challenging. I don't have a great solution for this besides having some linter to catch the duplicates. Definitely something to consider.
# Was it worth the switch from Bulma to Tailwind
Yes! I love using Tailwind. I love the utility-first philosophy. But just like minimalism, it's not suitable for everyone. If you have your own design system, then go for it. But if you don't, and you want something that looks great right out of the box, then stick with a traditional CSS framework like Bootstrap.
It worked for my own personal project because I had a design in mind. But even for larger companies, I think it's a huge benefit for adopting this. That's actually how I got introduced to this. My current role at GitLab, we're all about that utility-first. We have a significant code base, so not having to dig into the CSS and make all the changes in the HTML is such a plus. Here's how GitLab puts it:
Utility Class removes code duplication and encapsulates a clear responsibility
Hope you enjoy this summary of my experience and feedback on using Tailwind ✌️


